
The first difficulty in turning a novel into an AI video is often deciding where to begin. A long source text and a large cast can leave you unsure which shot to generate first. One short scene provides a manageable way to test the production workflow.
Consider this fictional scene: a courier enters an empty station, notices a familiar suitcase and hears someone call their name from behind. Arrival, discovery and reaction form three distinct beats for a first three-shot trial.
1. Turn the text into visible action
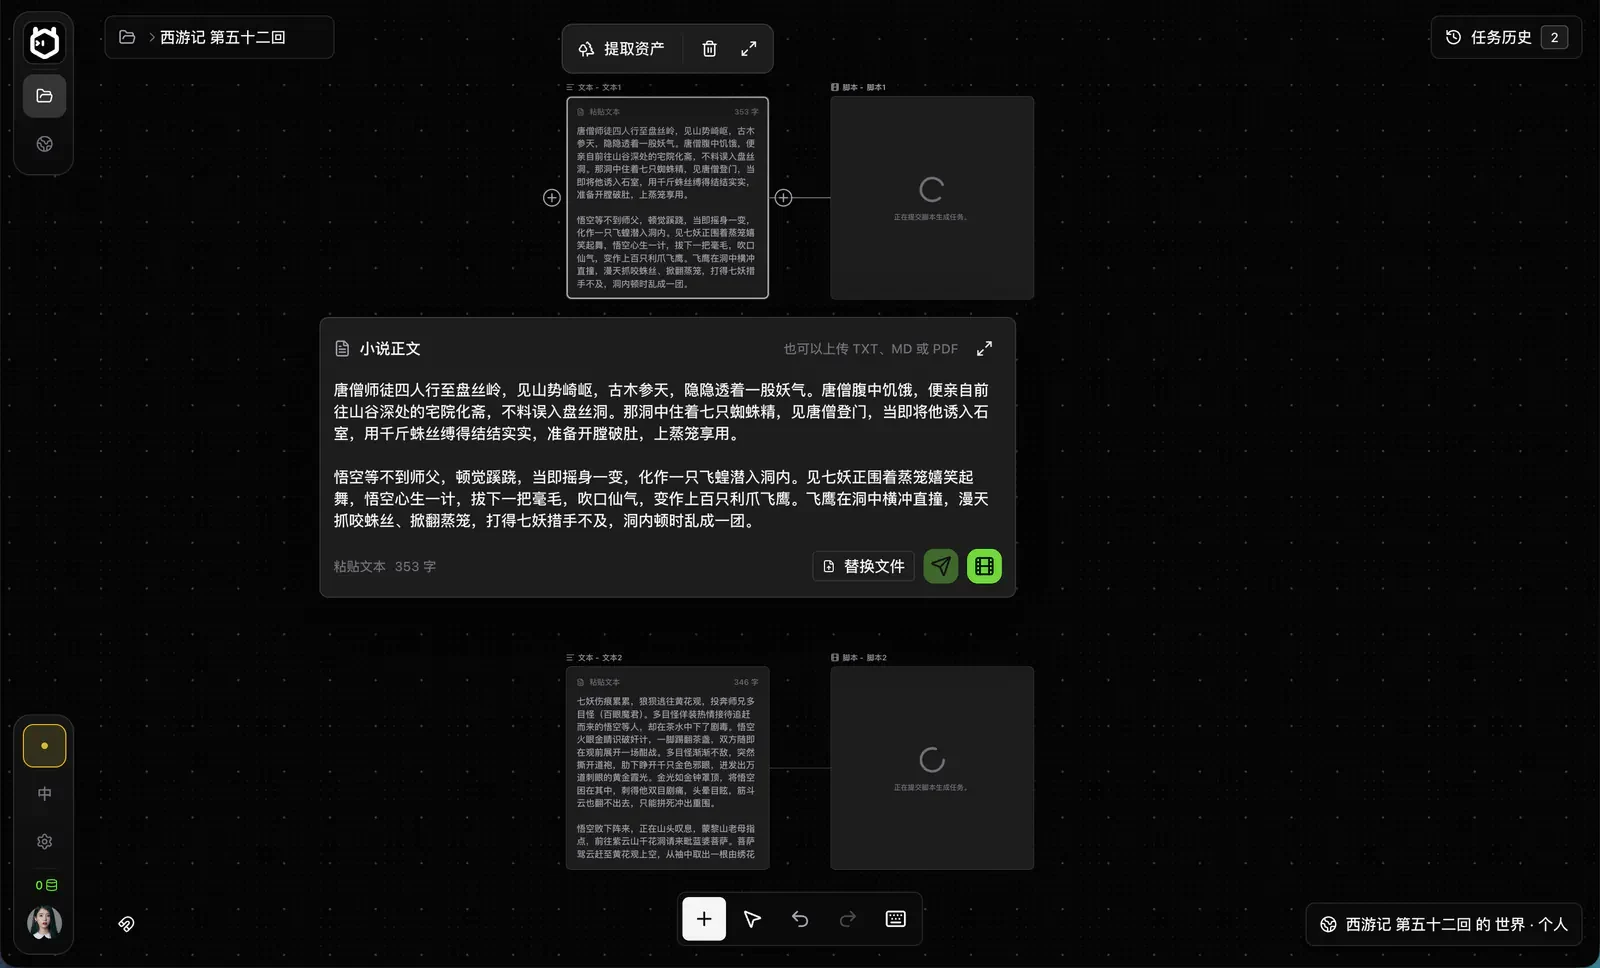
Create a project in ElserStudio, paste your story or import a TXT, Markdown or PDF file. Review the resulting script for characters, locations, action and dialogue before preparing media assets.
“He feels that something is wrong” might become a pause, a glance across the empty platform or a tighter grip on a shoulder strap. Not every internal thought needs spoken dialogue. A visible change can communicate the moment more clearly.
- Shot one: Establish the courier entering the station and their relationship to the space.
- Shot two: Show the discovery of the suitcase and the shift in attention.
- Shot three: Let the call motivate a turn and leave the uncertainty in the reaction.
2. Confirm the recurring World assets
Create or select the canonical courier, station and suitcase assets. Check the face, hairstyle, clothing and carried objects in the character sheet. Reference the same appropriate asset version in subsequent shots.
Keep content references separate from style descriptions. The character image identifies the person; the location image describes the setting. Express style in text rather than allowing an unrelated style sample to introduce another person or place.
3. Give each shot a beginning, action and ending
For example: “The courier pauses at the platform entrance, shifts attention to a suitcase on the bench, then holds the gaze.” That is easier to evaluate than a single request that combines running, opening the case, remembering something and turning around.
Shots can generate video directly from existing character, location and prop references. A shot guide board is an optional aid; you do not need to generate a separate storyboard image for every shot before beginning. Camera placement and movement should support the action of that shot.
4. Review three shots before expanding to a chapter
Play each candidate take and check whether the character is recognizable, the action occurs and props remain coherent. For dialogue, listen to the speaker and words, then check mouth movement and timing.
A planned ending is not necessarily the ending that appeared in the generated take. Base the next transition on the clip you actually accepted.
Connect accepted clips to a Composition node and arrange them on the timeline. Watch the complete sequence before deciding what to redo. Keep successful takes and adjust one main problem at a time so you can tell whether the change helped.
Start your first short sequence
The three-shot trial tests whether script, assets, generation and editing work together. Once the process is stable, reuse the World assets and extend the next scene. AI generation still calls the configured online service; charges depend on the selected provider or credit plan.
Follow the complete guide, or download ElserStudio and start with one short scene from your own story.